



Renovating a door or cabinet does not always require replacing the entire panel. If the existing substrate is structurally sound but the surface looks outdated, self-adhesive decorative film can provide a faster and more cost-effective way to refresh the appearance.
However, achieving a smooth, bubble-free, professional finish depends heavily on the installation process. Poor surface preparation, incorrect positioning, excessive dust, or uneven pressure can result in wrinkles, bubbles, edge lifting, or poor adhesion.
Guangdong Hantai Decoration Material Co., Ltd develops and manufactures modern PVC/PET decorative films, decorative acrylic panels, and self-adhesive interior films. Its ESTRY® self-adhesive film is designed to provide a convenient surface-renovation solution for door panels, cabinet doors, furniture surfaces, and other interior applications.
This guide explains how to install ESTRY® self-adhesive film correctly and what buyers should check before placing a bulk order.

1. Product Definition: What Is ESTRY® Self-Adhesive Film?
ESTRY® self-adhesive film is a decorative interior film with a pressure-sensitive adhesive layer on the back. Unlike conventional decorative films that require additional adhesive application, the self-adhesive structure simplifies the installation process.
A typical structure includes:
| Layer | Main Function |
|---|---|
| Protective layer | Protects the decorative surface during handling and use |
| Decorative layer | Provides wood, stone, solid-color, or other visual effects |
| PVC/PET film substrate | Provides flexibility and dimensional stability |
| Adhesive layer | Bonds the film to the prepared substrate |
| Release liner | Protects the adhesive before installation |
The main advantage is straightforward:
Peel → Position → Apply → Press → Trim.
This makes self-adhesive film particularly suitable for renovation projects where customers want to update existing doors and cabinets without replacing the complete panel.
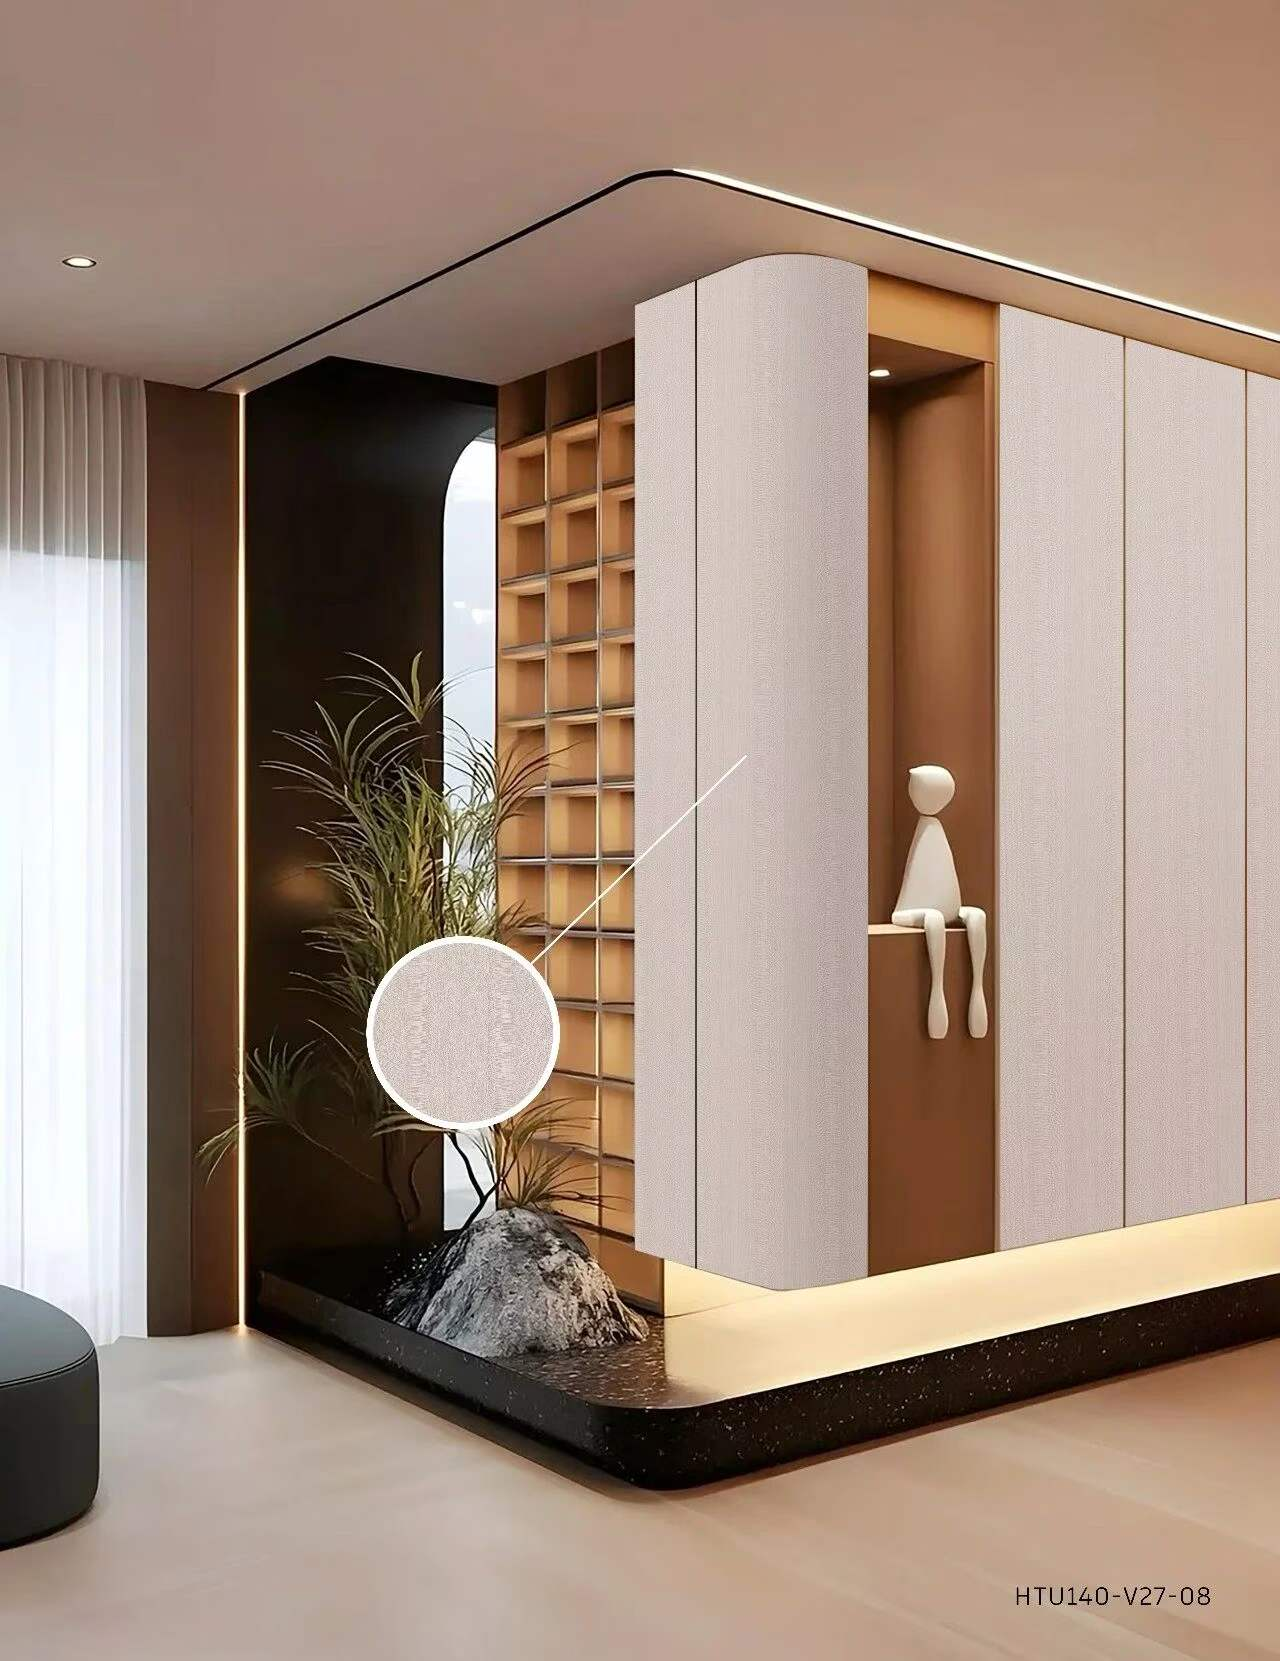
2. Where Can ESTRY® Self-Adhesive Film Be Used?
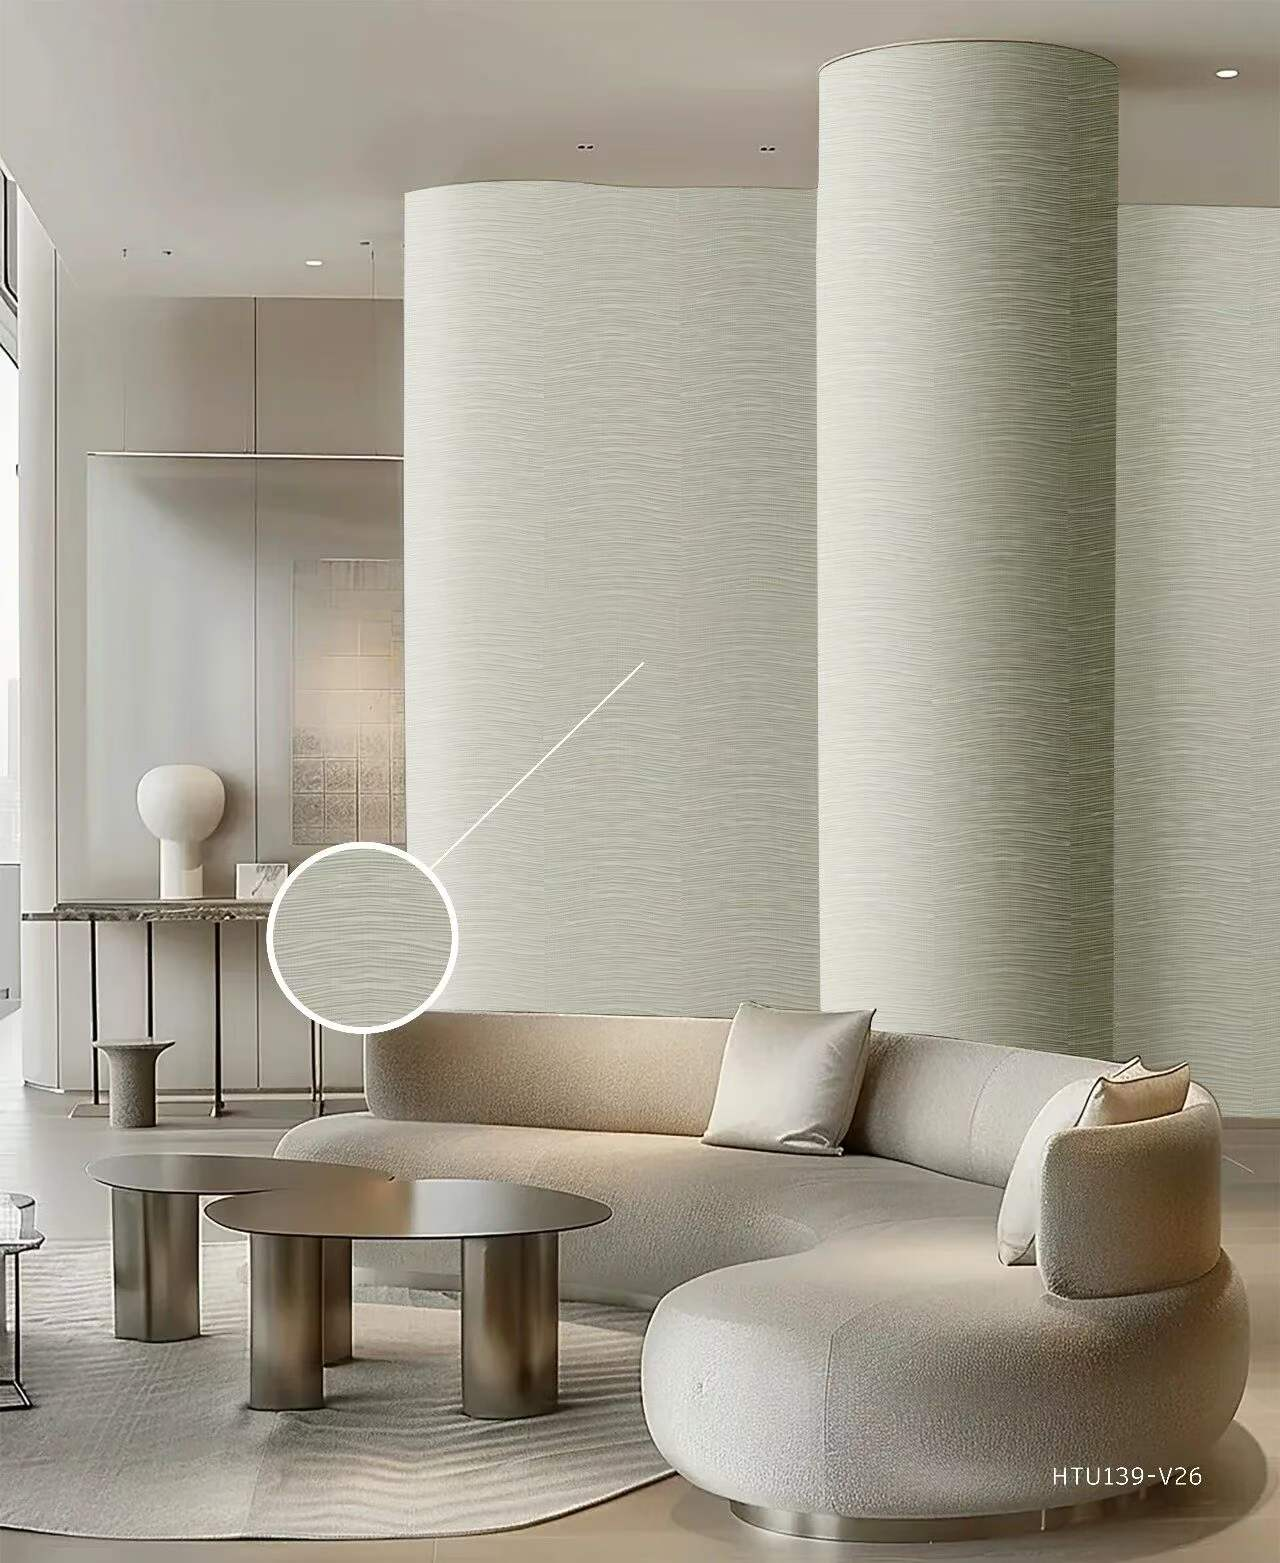
ESTRY® film can be considered for a variety of interior surface renovation applications.
Door Panels
It can be used to refresh:
Interior doors
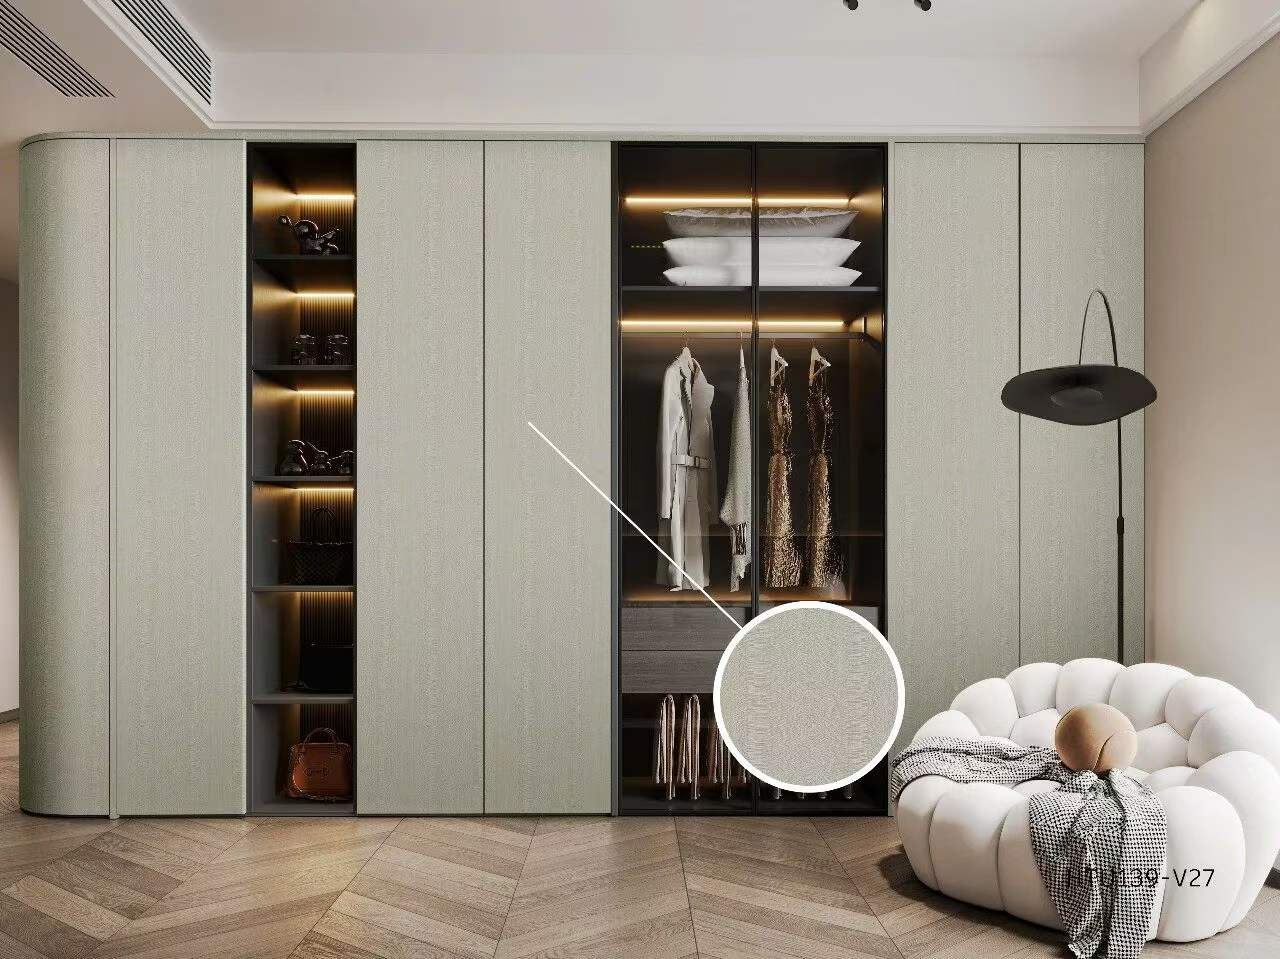
Cabinet doors
Wardrobe doors
Decorative door panels
Furniture doors
For renovation projects, replacing only the surface finish can significantly reduce the amount of material and installation work compared with replacing the complete door structure.
Kitchen Cabinet Surfaces
Kitchen cabinets are one of the most practical applications.
ESTRY® self-adhesive film can be used on:
Cabinet doors
Drawer fronts
Side panels
Storage cabinet surfaces
For frequently handled surfaces, proper substrate preparation and edge treatment are particularly important.
Wardrobes and Storage Furniture
A dated wardrobe can be visually upgraded with:
Wood-grain finishes
Solid colors
Modern matte effects
Stone-inspired designs
This gives furniture manufacturers and renovation contractors more flexibility when matching different interior styles.
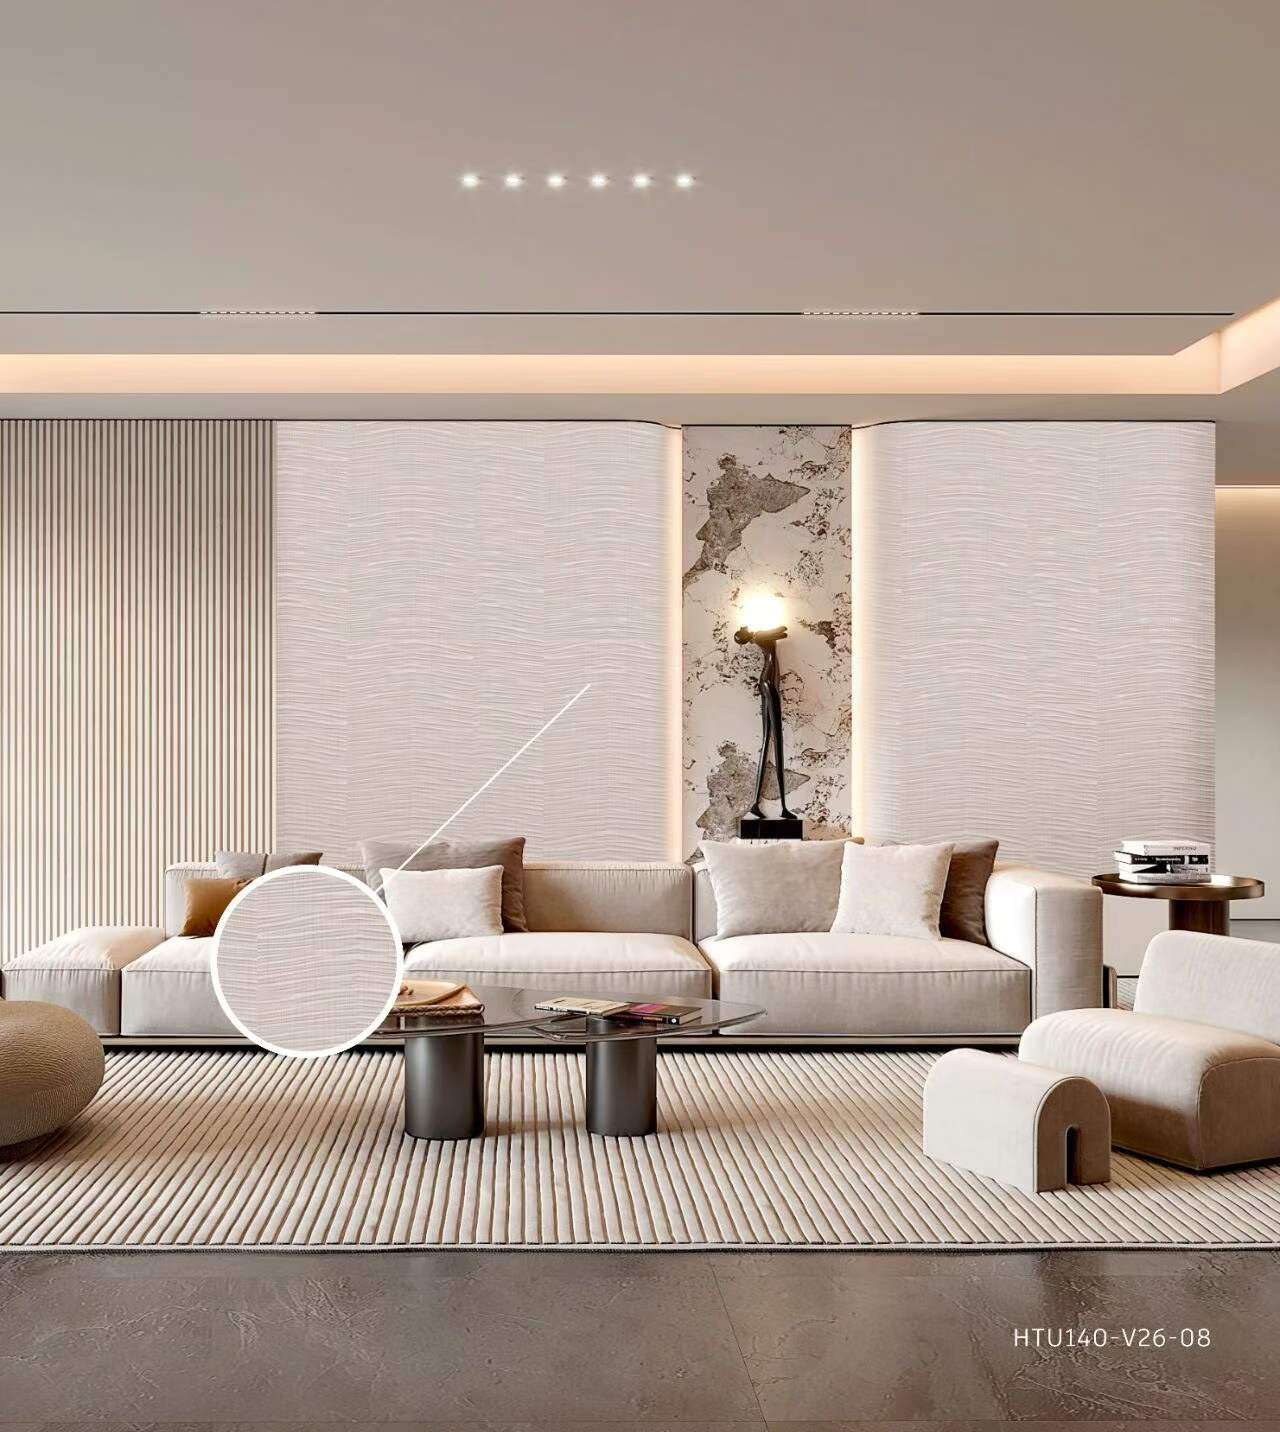
3. How to Install ESTRY® Self-Adhesive Film: Step-by-Step Guide
The installation process is simple, but professional results require attention to detail.
Step 1: Check the Door or Cabinet Surface
Before applying the film, inspect the substrate.
The surface should be:
Flat
Dry
Clean
Smooth
Free from loose dust
Free from oil and grease
Repair deep scratches, holes, cracks, or uneven areas before installation.
Important: Self-adhesive film cannot compensate for major substrate defects. Any unevenness underneath the film may remain visible after installation.
Step 2: Clean and Degrease the Surface
Remove:
Dust
Grease
Wax
Old adhesive residue
Other contaminants
Use a suitable cleaning method and allow the substrate to dry completely.
For cabinet surfaces, pay particular attention to areas around handles and frequently touched edges because these areas may contain accumulated grease.
A clean surface gives the adhesive layer a better opportunity to establish uniform contact.
Step 3: Measure the Panel
Measure the:
Length × Width + Required Edge Allowance
Do not cut the film exactly to the visible panel dimensions.
For example, if a cabinet door measures 600 mm × 800 mm, leave an additional allowance around the edges according to the installation method and whether the film will be wrapped around the panel.
Before cutting multiple pieces, confirm:
Panel dimensions
Film direction
Wood-grain direction
Pattern alignment
Required edge allowance
For wood-grain or directional patterns, this step is particularly important.
Step 4: Cut the ESTRY® Film
Place the film on a clean working surface with the decorative side protected.
Cut the required piece using:
Sharp utility knife
Precision cutter
Straightedge
Keep the cutting line clean and accurate.
For multiple cabinet doors, it is recommended to label each piece before installation to prevent incorrect pattern orientation.
Step 5: Position the Film Before Full Adhesion
Do not remove the entire release liner at once.
Instead:
Peel back a small section of the release liner.
Align the film with one edge.
Fix the starting position.
Gradually remove the liner while applying the film.
This method provides better control and reduces the risk of misalignment.
Step 6: Apply the Film Gradually
Use a professional squeegee or soft applicator.
Move from the fixed area toward the opposite side while applying consistent pressure.
The basic principle is:
Apply progressively rather than pressing the entire film at once.
This helps minimize:
Air bubbles
Wrinkles
Uneven adhesion
Surface creases
If a bubble occurs during installation, stop and correct it instead of continuing to press over the problem.
Step 7: Treat the Corners and Edges
Edges are critical to long-term performance.
After the main surface has been applied:
Press the film firmly toward the edge.
Fold or wrap the film according to the panel design.
Apply pressure to the corner.
Trim excess material with a sharp blade.
Press the edge again to ensure close contact.
For cabinet doors and furniture panels, edge quality can directly influence the perceived quality of the finished product.
Step 8: Inspect the Finished Surface
After installation, check the panel from different angles.
Look for:
Air bubbles
Wrinkles
Misalignment
Edge lifting
Surface contamination
Pattern deviation
A final inspection under normal interior lighting is recommended before the panel is returned to service.
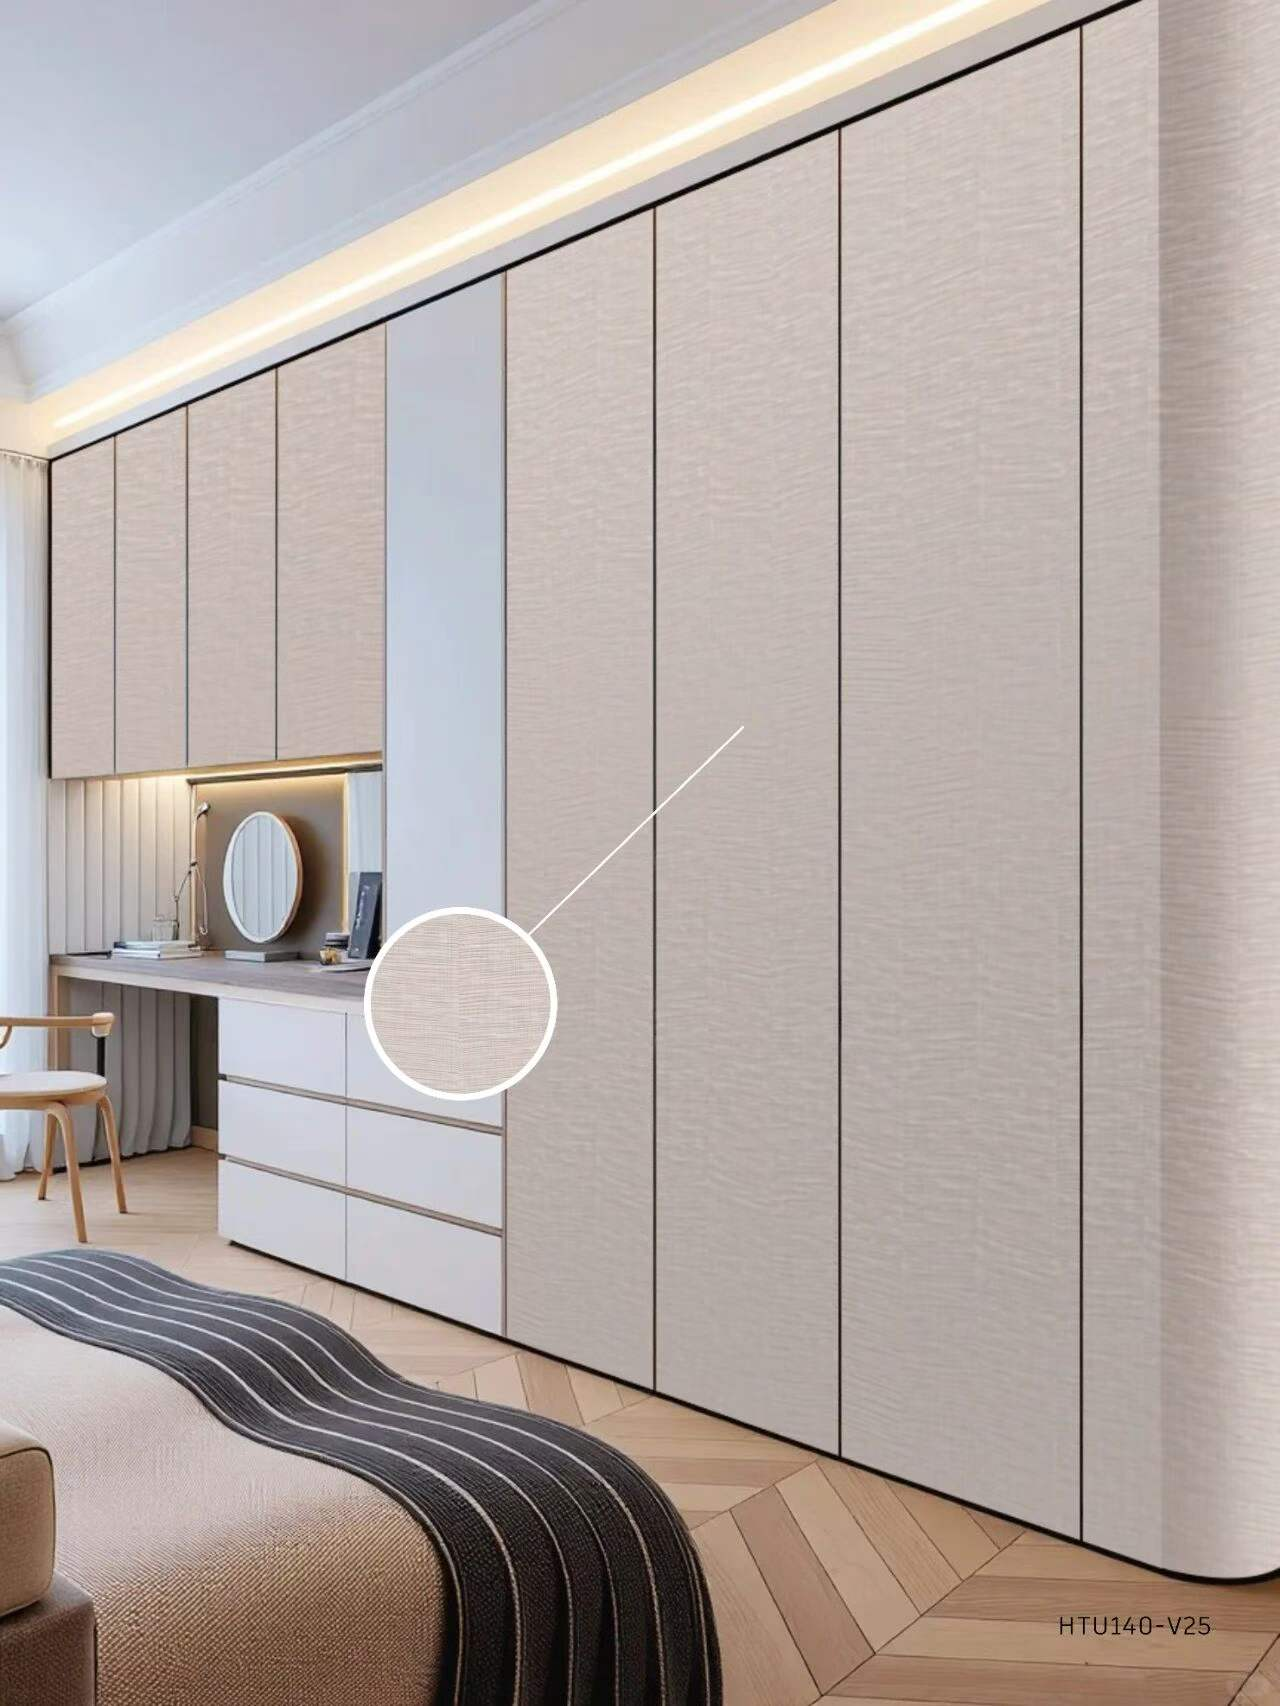
4. Recommended Installation Conditions
Installation environment can influence adhesive performance.
| Factor | Recommended Consideration |
|---|---|
| Substrate | Smooth, flat, clean and dry |
| Surface | Free from grease, dust and loose particles |
| Temperature | Follow Hantai's product-specific application range |
| Humidity | Avoid wet or condensation-prone surfaces |
| Tools | Squeegee, sharp knife, measuring tools |
| Application | Gradual peeling and pressing |
| Edge Treatment | Firm pressure and accurate trimming |
| Storage Before Installation | Keep film clean, dry and protected |
Because adhesive formulations can vary between products, professional buyers should request the specific technical data sheet for their ESTRY® film specification rather than applying a generic installation temperature or peel-strength value.
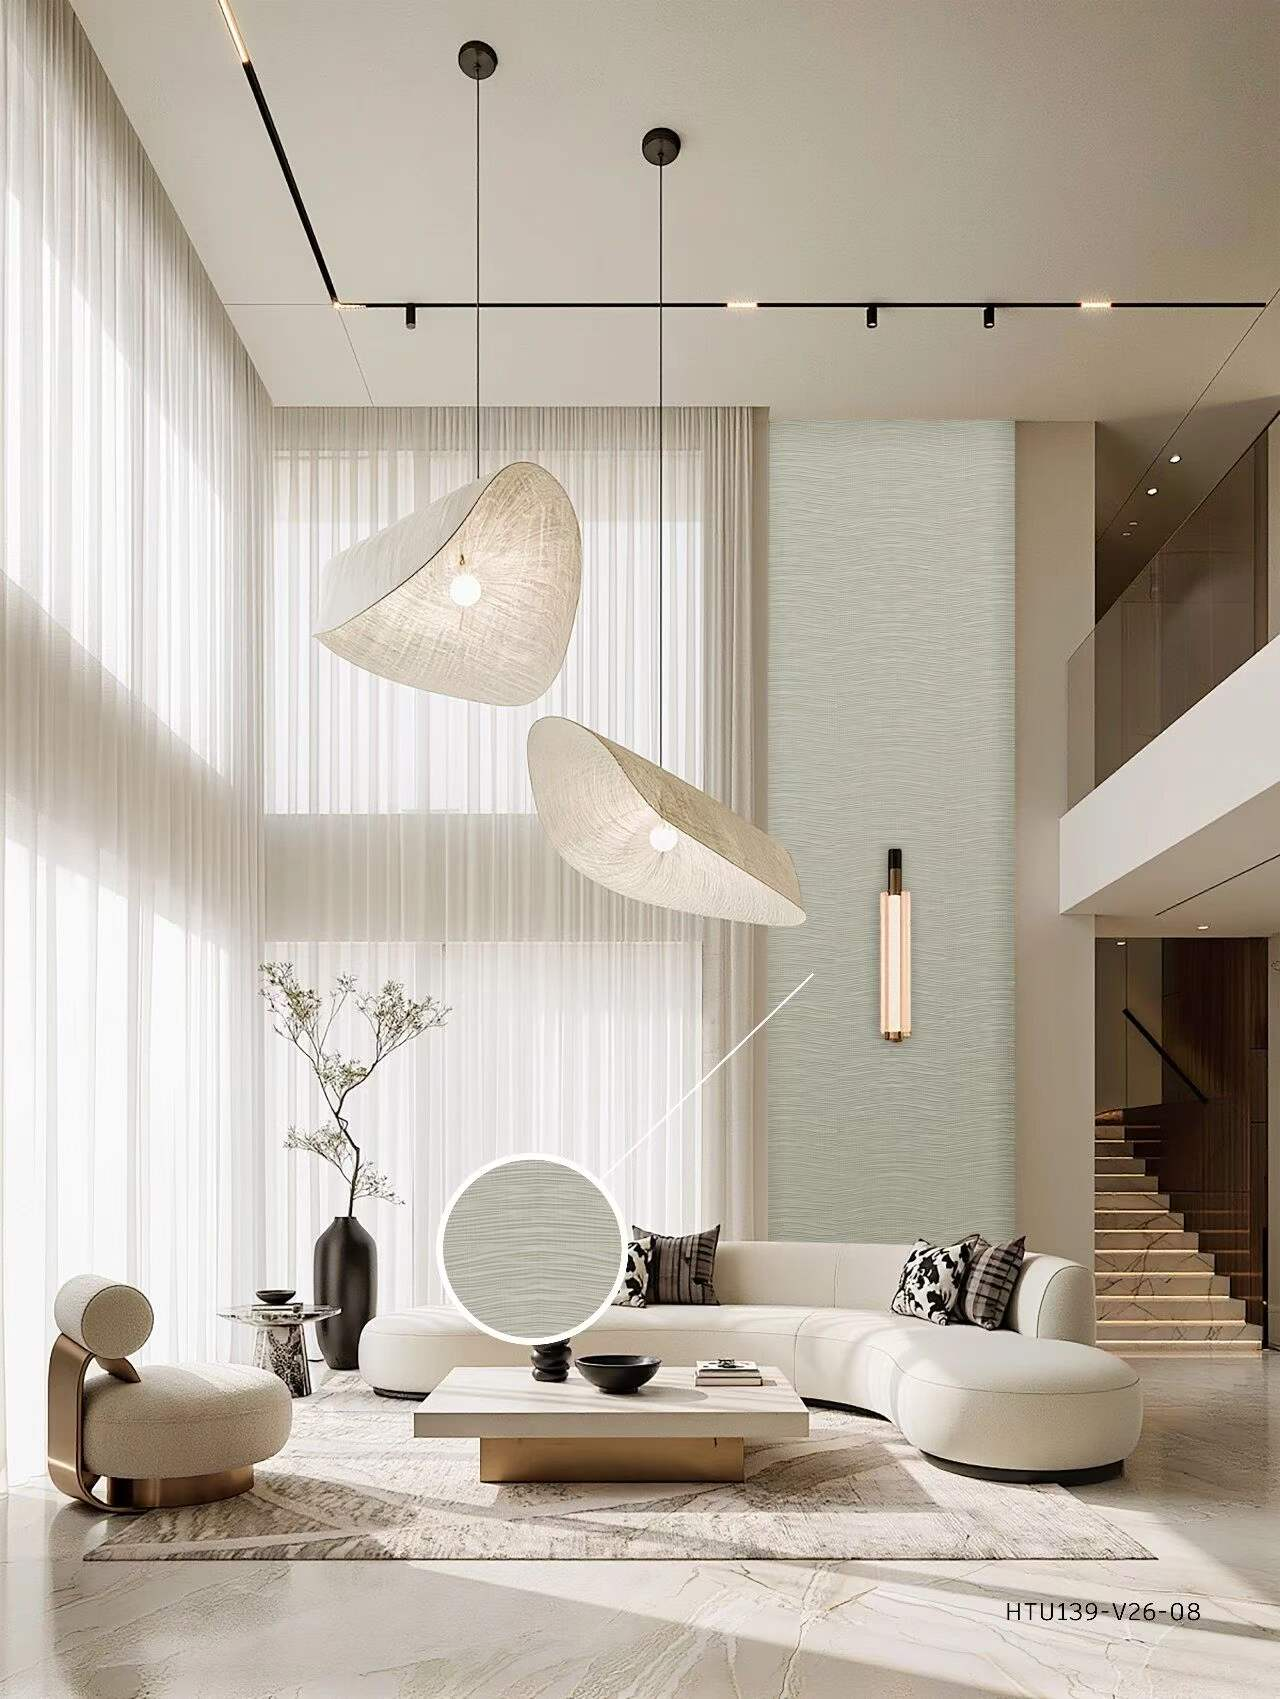
5. What Substrates Are Suitable?
The substrate has a major influence on the final result.
Common furniture substrates include:
MDF
Particle board
Plywood
Wood-based panels
Existing smooth decorative panels
Suitable painted surfaces
Before large-scale production, conduct a sample adhesion test on the actual substrate.
Why Is a Sample Test Important?
Different substrates may have different:
Surface roughness
Coating compositions
Moisture levels
Surface energy
Contamination conditions
Therefore, a film that performs well on one cabinet board may require different preparation on another substrate.
For B2B furniture production, sample testing before mass production is strongly recommended.
6. Common Procurement Questions About Self-Adhesive Film
Q1. Can self-adhesive film be applied directly to an old cabinet?
Not always.
If the existing cabinet surface is:
Smooth
Firm
Clean
Dry
Free of peeling coatings
it may be suitable after proper preparation.
However, loose paint, severe scratches, grease, or significant surface deformation should be repaired before installation.
Q2. Will self-adhesive film create bubbles?
Bubbles are usually related to installation conditions rather than simply the film itself.
Common causes include:
Dust on the substrate
Excessive adhesive exposure before positioning
Incorrect application pressure
Uneven substrate
Applying too much film at once
The peel-and-apply method combined with gradual squeegee pressure can substantially improve installation consistency.
Q3. Can the film be removed?
Self-adhesive films are designed for bonding to prepared surfaces, but removability depends on:
Adhesive formulation
Substrate
Application time
Temperature
Surface coating
Before using the film for a temporary renovation project, ask the supplier for product-specific removal and rework information.
Q4. How should bulk buyers evaluate an ESTRY® supplier?
For wholesale purchasing, don't evaluate the film based only on color and price.
Ask for:
1. Technical data
Film thickness
Adhesive type
Surface treatment
Width options
Performance specifications
2. Sample testing
Request samples for actual cabinet and door substrates.
3. Production consistency
Check whether color, gloss, texture, and adhesive performance remain consistent between batches.
4. Customization capability
For furniture brands, confirm whether the supplier supports:
Custom colors
Custom patterns
Different widths
OEM/ODM projects
7. Data Evidence: Why Self-Adhesive Film Is Attractive for Renovation?
The value of self-adhesive decorative film is not simply its decorative appearance.
For renovation projects, the material can help reduce the number of construction steps because the decorative layer and adhesive system are integrated into one product.
Consider a simplified renovation workflow:
Traditional surface renovation:
Surface preparation → primer → painting/finishing → drying → inspection → installation
Self-adhesive film renovation:
Surface preparation → measurement → cutting → application → trimming → inspection
This does not mean every project will have the same labor or cost savings. Actual results depend on panel condition, project scale, installer experience, substrate type, and film specification.
However, the simplified installation process is one reason self-adhesive decorative film has become attractive for cabinet refurbishment, furniture renovation, interior remodeling, and customized panel production.
8. Why Choose Guangdong Hantai Decoration Material Co., Ltd?
Guangdong Hantai Decoration Material Co., Ltd integrates R&D, design, manufacturing, and sales of modern decorative surface materials.
Its product portfolio includes:
PVC decorative film
PET decorative film
Decorative acrylic panels
Self-adhesive interior film
ESTRY® self-adhesive decorative film
Hantai's strength is not limited to supplying decorative film rolls. For professional buyers, the more important value is the ability to connect material selection with real application requirements.
Hantai Can Support Buyers With:
Product Selection
Recommend suitable decorative film according to the intended application.
Customization
Support color, pattern, specification, and application-oriented development.
Sample Testing
Help buyers evaluate film performance on their actual cabinet or door substrates before bulk purchasing.
Mass Production
Provide stable supply for furniture manufacturers, distributors, renovation companies, and interior decoration projects.
9. From Sample to Bulk Order: A Practical Purchasing Process
If you are considering ESTRY® self-adhesive film for your furniture or renovation business, a practical purchasing process is:
Step 1 — Send Your Application
Tell Hantai whether the film will be used for:
Cabinet doors
Kitchen panels
Wardrobe doors
Interior doors
Furniture panels
Wall decoration
Step 2 — Provide Substrate Information
Share:
Substrate type
Panel dimensions
Surface condition
Application method
Expected environment
Step 3 — Request Samples
Test the actual film on your production substrate.
Step 4 — Confirm Technical Requirements
Evaluate:
Adhesion
Appearance
Surface durability
Processing performance
Edge treatment
Step 5 — Confirm Bulk Specifications
Finalize:
Film design
Width
Thickness
Roll length
Packaging
Quantity
Delivery requirements
Step 6 — Start Mass Production
After sample approval, proceed with bulk production according to the confirmed specification.
10. Final Takeaway: A Better Surface Starts with Better Installation
Installing ESTRY® self-adhesive film on door panels and cabinet surfaces is straightforward, but professional results depend on several key factors:
Clean substrate + accurate measurement + gradual application + controlled pressure + proper edge treatment = better finished surfaces.
For furniture manufacturers and renovation professionals, choosing the right decorative film is only the first step. The combination of material quality, substrate preparation, installation technique, and supplier technical support determines the final result.
If you are looking for a manufacturer of PVC/PET decorative films and self-adhesive interior films, Guangdong Hantai Decoration Material Co., Ltd can provide ESTRY® self-adhesive film solutions for cabinet, door, furniture, and interior surface applications.
Ready to Test ESTRY® on Your Cabinet or Door Panels?
Contact Guangdong Hantai Decoration Material Co., Ltd to request product samples, technical specifications, and customized self-adhesive film solutions for your project.
HANTAI DECORATION — INNOVATION FOR U.