Applying a car wrap is not just about changing the aesthetics of your vehicle; it's an art that combines precision, patience, and technique to transform your car's appearance while protecting its original paint. Whether you're looking to advertise your business, brand your fleet, or simply give your car a fresh new look, mastering the vehicle wrap application process is key. This comprehensive guide will walk you through each step of how to apply a vehicle wrap, ensuring a smooth and professional finish.
What Is A Vehicle Wrap?
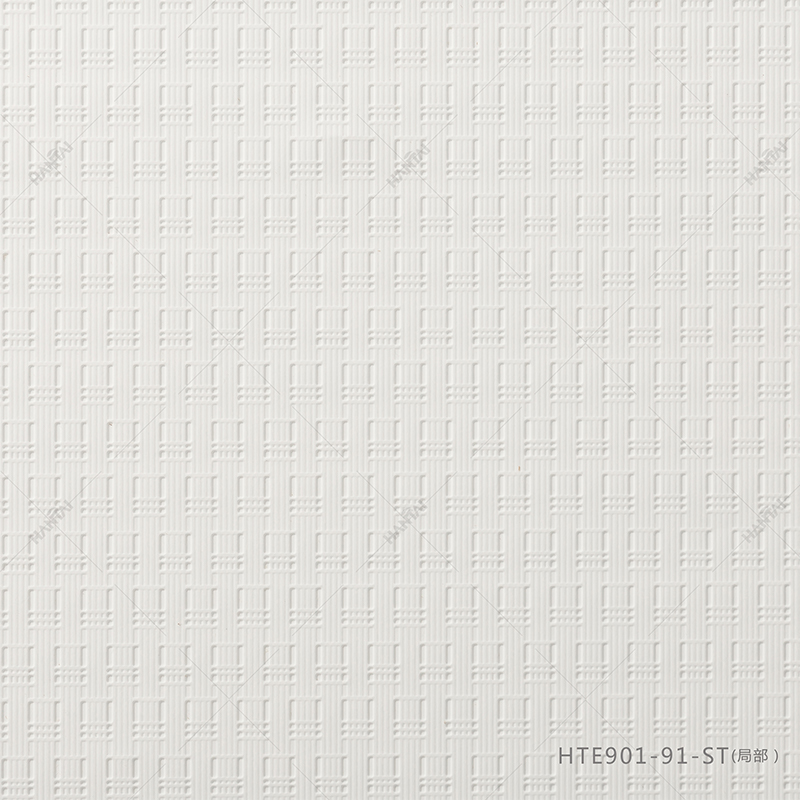
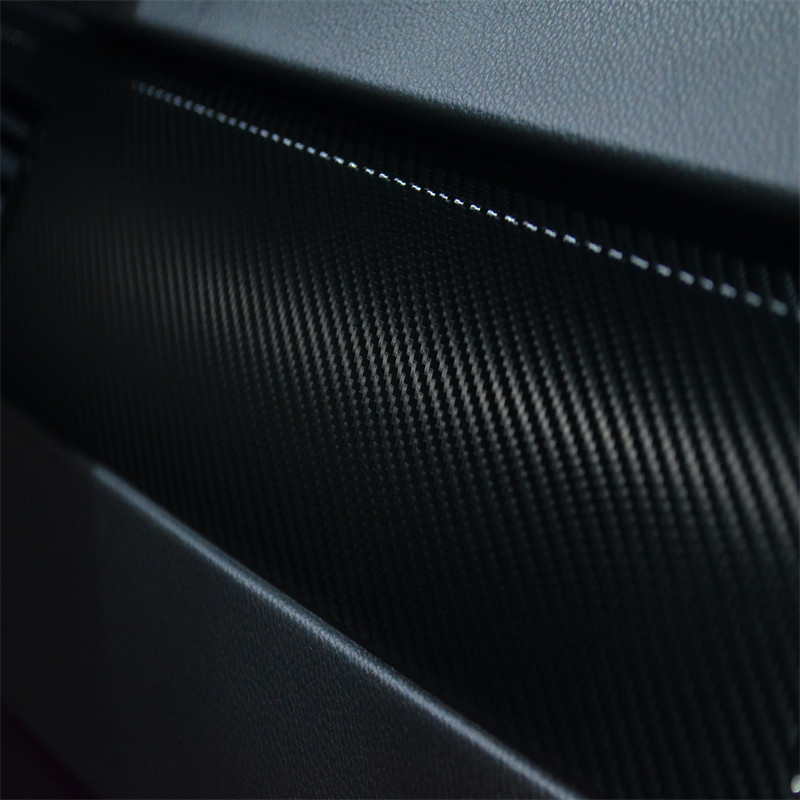
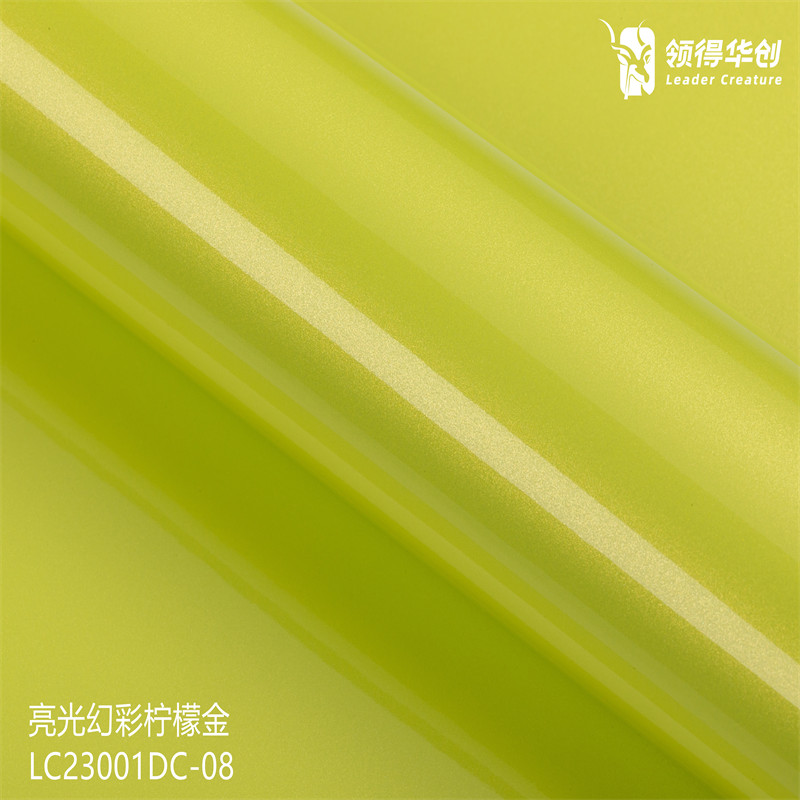
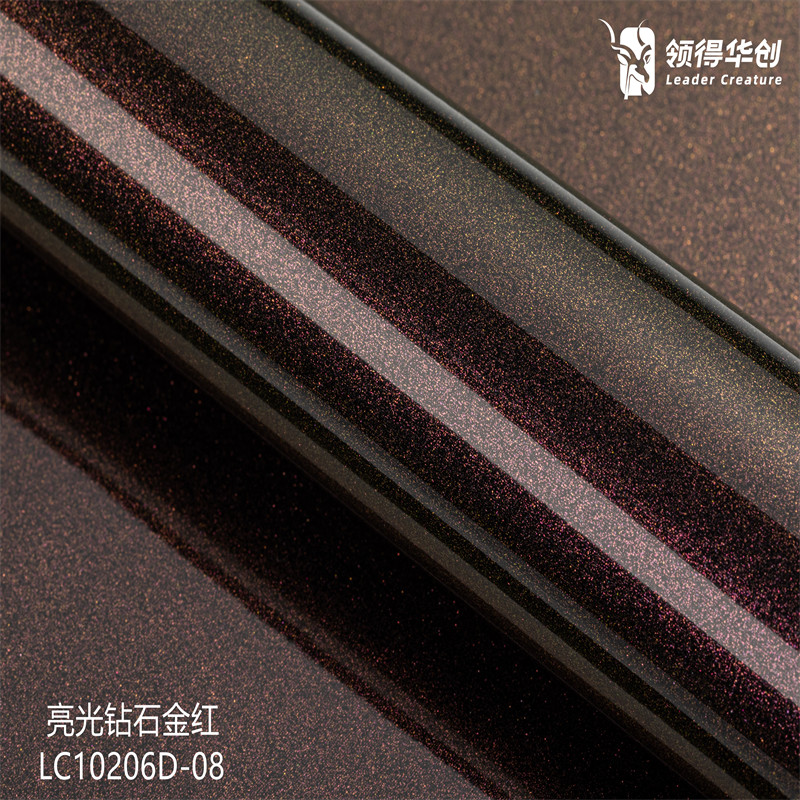
A vehicle wrap is a vinyl design or sticker that is placed on a vehicle's surface. It can be a full wrap that completely covers the car or a partial wrap that simply covers pieces of it. Vehicle wraps can be used for advertising, branding, or simply for aesthetic purposes. They can be customized to feature a company logo, product images, or any other design you can imagine.
Tools And Materials Required For Vehicle Wrap Application
To apply a vehicle wrap, you will need the following tools and materials including Vinyl wrap material, Cutting tools, Squeegee, a Heat gun or torch, Measuring tape, Cleaning materials, Lint-free towels or microfiber cloths, a Tack rag, and a ladder.
Preparing The Vehicle for the Wrap Application
Proper preparation of your vehicle is crucial to the success of the wrap application. A clean, dry, and debris-free surface is essential for the vinyl to adhere correctly. Follow these detailed steps to ensure your vehicle is ready for wrapping:
Wash the Vehicle: Start by washing the vehicle thoroughly to remove any dirt, dust, or debris. You can use a power washer or a hose with a high-pressure nozzle to rinse the vehicle.
Dry the Vehicle: After washing the car, thoroughly dry it with a microfiber towel or a chamois. Check that there is no water remaining in the car.
Check for Any Damage: Examine the vehicle's exterior for scratches, dents, or corrosion. If there is any damage, it should be addressed before the wrap is applied.
Remove Any Accessories: Remove any extraneous items such as mirrors, antennae, or insignia. It will make the wrapping procedure more efficient.
Applying The Vehicle Wrap
The application of a vehicle wrap is a meticulous process that demands your undivided attention and a steady hand. To achieve a flawless finish that not only looks professional but also stands the test of time, it's imperative to adhere to the following steps carefully:
Clean The Vehicle's Surface
Before applying the vehicle wrap, ensure the car surface is clean and free of any dirt or debris that could affect the adhesive's ability to stick. Start by washing the vehicle with mild soap and water, then use a degreaser to remove any leftover residue. Finally, use a lint-free cloth to dry the vehicle thoroughly.
Measure The Vehicle
Take precise measurements of the vehicle's dimensions and make a template of the wrap design to guarantee a proper fit. A wrap that is too large or too tiny might provide an unpleasant effect.
Prepare The Wrap
Before applying the wrap, ensure it is at room temperature and unrolled for at least an hour. This allows the adhesive to settle, making it easier to work with.
Apply The Wrap
Begin by pulling the backing paper from one end of the wrap and aligning it with the vehicle's edge. Apply mild pressure to the wrap, ensuring it is straight and smooth, and work your way from one end to the other. Smooth out any bubbles or wrinkles as you proceed.
Trim The Edges
Once the wrap is in place, trim the edges using a sharp knife or blade. This creates a neat and tidy finish and ensures the wrap fits snugly around the vehicle.
Heat The Edges
Heat the edges of the wrap using a heat gun to activate the glue and help it stick to the curves of the car. This method also helps to stretch the wrap and smooth out any creases or wrinkles.
Final Inspection
After successfully applying the wrap, conduct a thorough inspection of the vehicle. Look for any air bubbles, creases, or imperfections that need to be addressed. This final check ensures that your vehicle wrap is applied to perfection and is free of any flaws. Make sure to inspect the wrap from all angles, including in different lighting conditions, to ensure a perfect finish.
Conclusion
In addition to these DIY tips, if you're in search of high-quality vehicle wraps, HANTAI offers a wide selection to meet your needs. Get in touch with us today for professional assistance! Contact us today!